Captain Ratatype
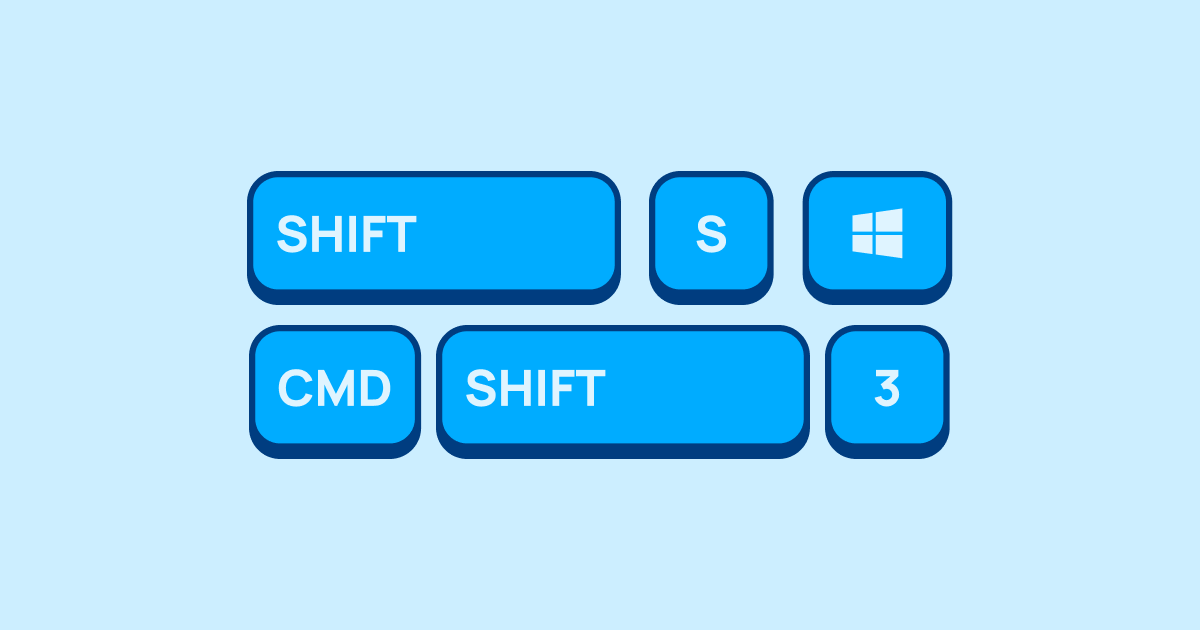
We are sharing life hacks on how to take a screenshot and not lose the image on your computer.
How to Take a Screenshot on Mac
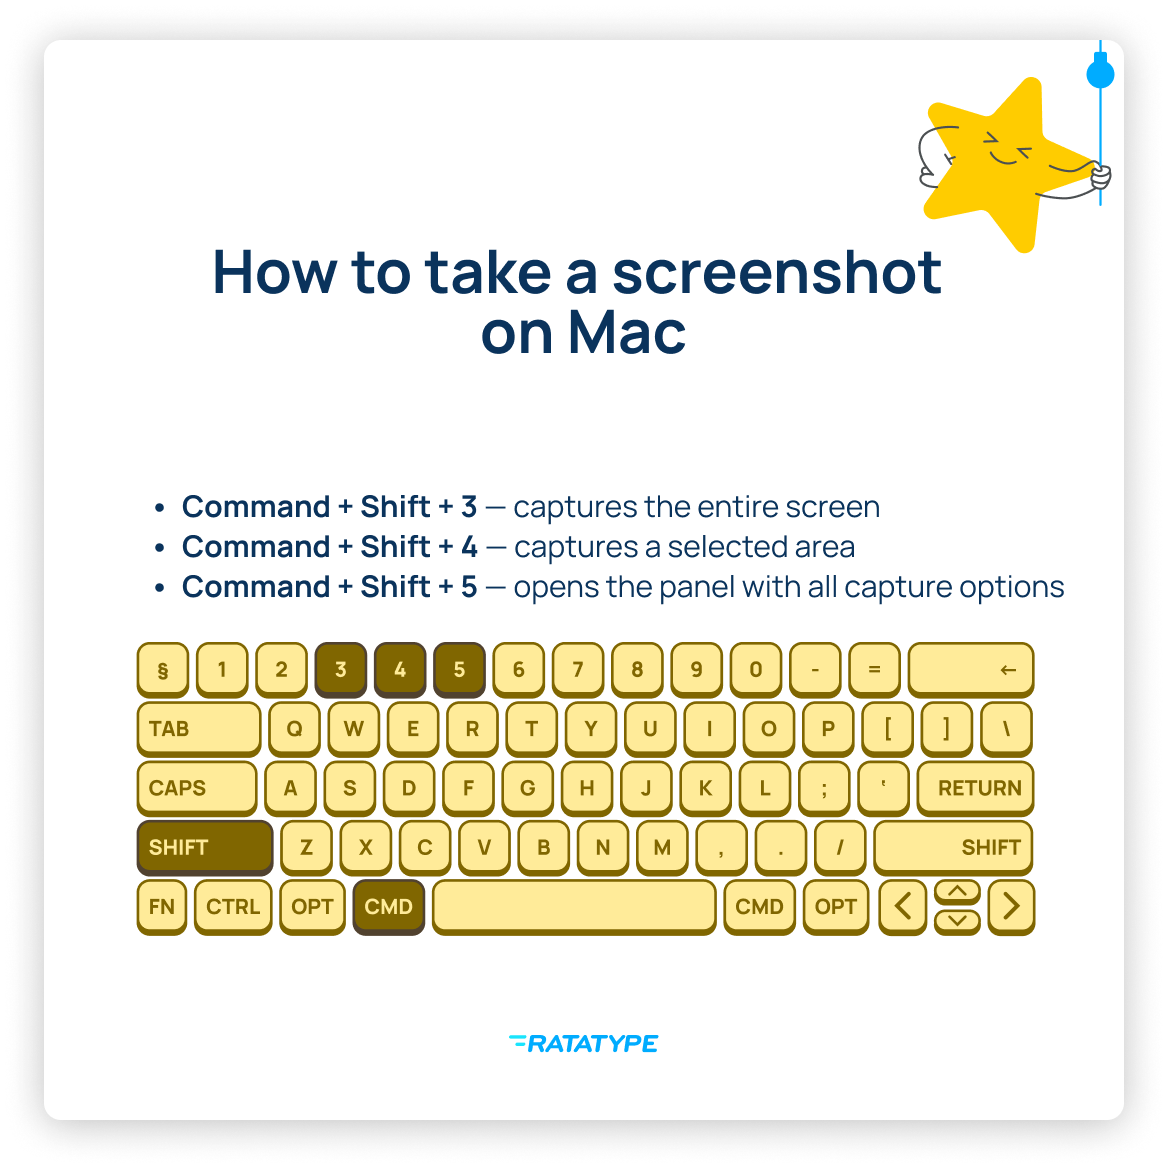
If you use Apple devices, here is a handy cheat sheet with keyboard shortcuts for screenshots and screen recording:
- Cmd +Shift +3 — captures the entire screen. The image is saved to the desktop for further use.
- Cmd +Shift +4 — captures a selected area (the cursor turns into a crosshair; define which part of the screen you want to capture).
- Cmd +Shift +4, thenSPACE — screenshot of a specific window. Useful when you need to share a specific capture.
- Cmd +Shift +5 — opens a panel with all options (area, window, full screen, screen recording).
With the Control key:
Add Control to any combination above — and the screenshot will be copied to the clipboard instead of being saved as a file. For example: Cmd +CTRL +Shift +3. Then you can simply paste it wherever you need — into a folder, a message, or an email.
How to Take a Screenshot on Windows
We have compiled keyboard shortcuts for screenshots that will help Windows users:
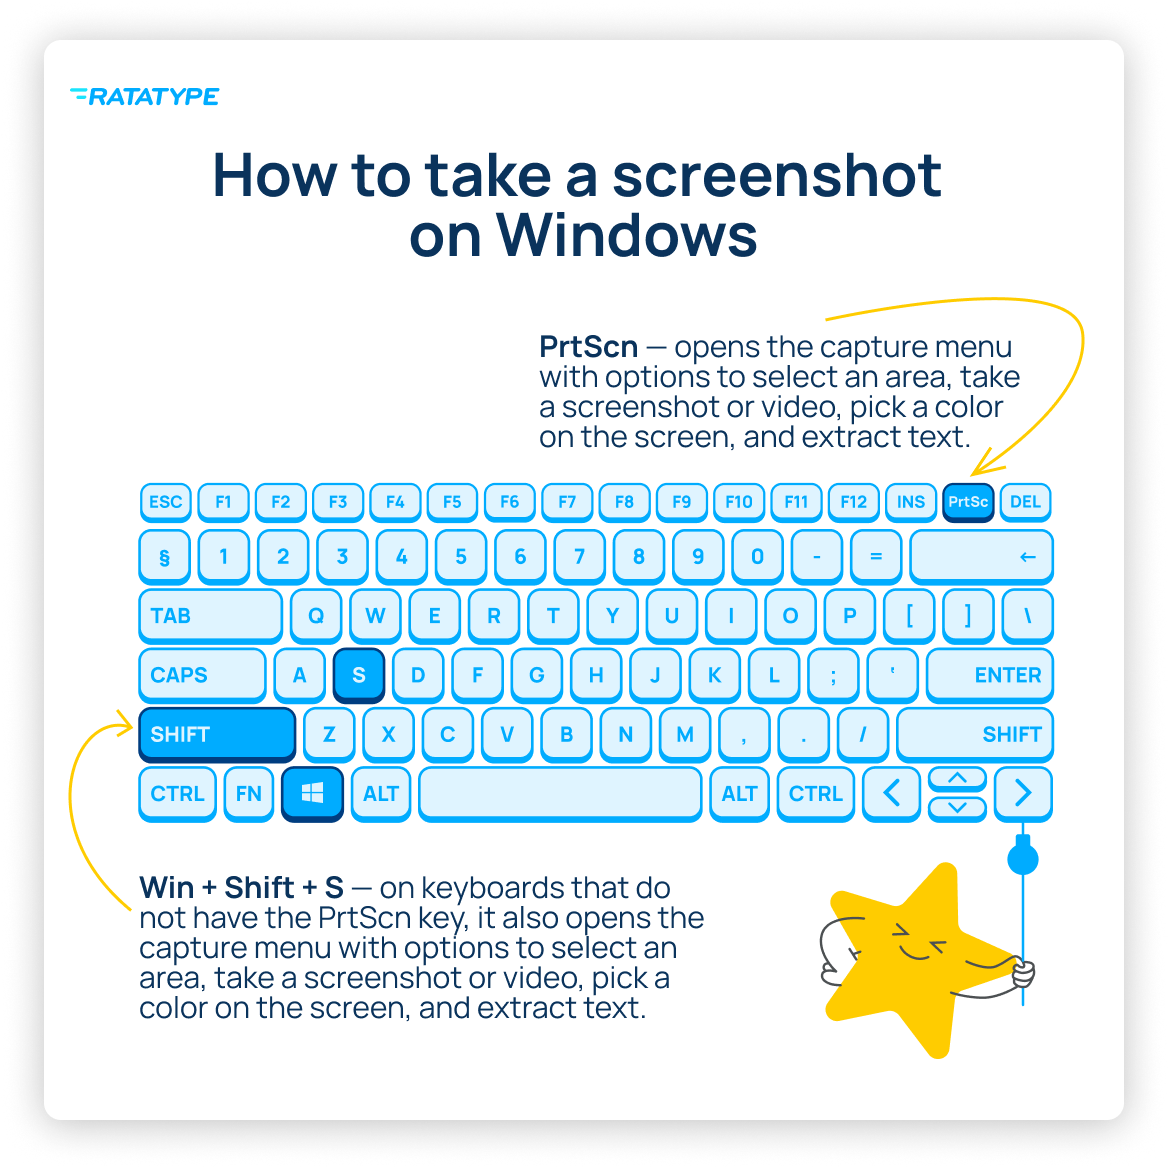
- PrtScn — captures the entire screen; the file is copied to the clipboard. In newer versions, it also opens a screenshot menu with area selection, photo or video, color detection, and text recognition.
- Win +Shift +S — on keyboards without a PrtSc button, it also opens the screenshot menu with area selection, photo or video, color detection, and text recognition.
- Win +Fn +PrtScn — full-screen screenshot, automatically saved to the «Pictures/Screenshots» folder.
Built-in Programs:
Snipping Tool — Start → «Snipping Tool» lets you select an area, window, or full screen and immediately edit the screenshot.
That is how easy and quick it is to take a screenshot on any operating system. And do you know which screenshot we would love to see the most? A screenshot of your learning results on our keyboard trainer.
So let us learn to type fast, just as quickly as taking a screenshot. One, two, three — let us go!